
建立MySetting类
总是需要用到的一些量放入这个类,方便调用和修改。
- 开发环境是Ubuntu。迁移Windows系统需要修改路径
1 | class MySetting { |
抓取验证码
先给项目导入HttpClient
通过HttpClient建立连接,Chrome审查元素可知验证码链接为教务系统链接后面加上“/CheckCode.aspx”
用Java文件输入输出流保存图片到本地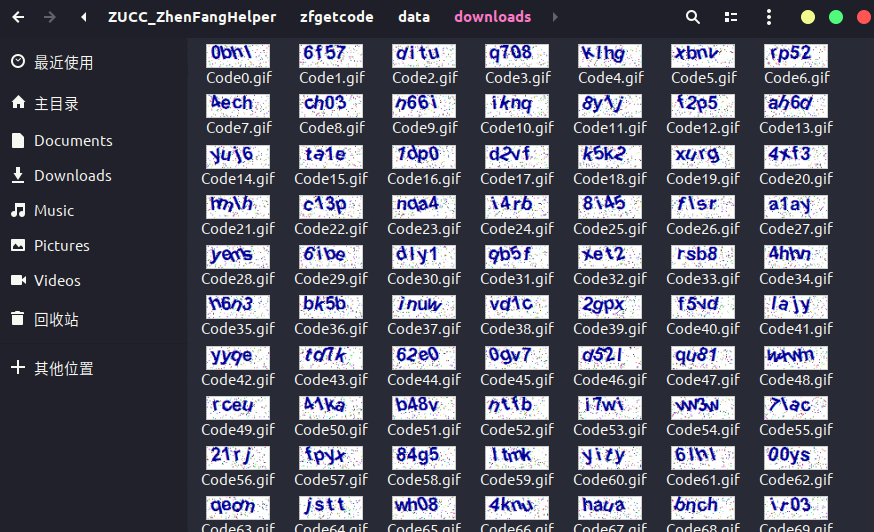
1 | class getCodeIMG { |
字模的生成与识别
思路是用现有的验证码生成OCR字模。再抓取一批验证码,使用字模打标。人工处理一遍,把错误的验证码找出来重新手工打标。打标用再生成字模。如此循环多次,模型不断完善,准确率达到85%以上即可
获取标签数据集
ZUCC_ZhenFangHelper下zf_train.tar.xz里面有32283张已经打好标签的验证码,选择1000张放入result
生成字模
验证码预处理(去噪、二值化)
观察验证码文本都是蓝色。遍历图片所有像素点,所有蓝色点变为黑色,其他为白色
1 | private static BufferedImage removeBackgroud(String picFile) throws Exception { |
切割验证码
观察验证码,发现每次文本位置不变。直接等快分割,不借助切割算法。高度在0-23像素之间,宽度在5-53像素之间。每个字符占据1/4的像素,因此规定第一个字符的像素在5-17之间,第二个在17-29之间,第三个在29-41之间,第四个在41-53之间。
1 | private static List<BufferedImage> splitImage(BufferedImage img){ |
传统的验证码识别中“9”,“0”,“o”出错率很高。但正方教务系统不会生成“9”,“o”,提高了准确率。只不过对于“l”,“i”,“1”这三个字符上出错率依旧很高,可以通过扩充字模降低
保存切割图像
1 | /* |

ZUCC_ZhenFangHelper/zfgetcode/data下有已经训练好的模型“model”和“model1”。其中“model1”是用三万多张那个数据集生成出来的,虽然识别率高,但大大降低了识别速率。“model”内的字模已经够用使用上已经够了
现有字模识别验证码
先去背景,二值化,分割成单个图片后,与字模库分别对比获得结果
1 | /* |
二值化后的验证码,文本都变为黑色,比对黑色像素不同个数,不同像素点个数最少的作为识别结果
1 | /* |
人工校验字模识别的结果
用JavaFX制作人工校验图形化界面。校验时结果正确则回车下一个验证码,并删除图片。结果错误则输入框内输入正确值,把修改后的验证码移到WRONG目录下,校验完成后去该目录确认一遍,无误后移入result文件夹,调用字模生成接口,重新生成字模

1 | public void start(Stage primaryStage) { |
不断重复上述步骤扩充字模库可以不断提高识别准确率,但随之而来的就是识别速率的下降
完整代码较长,可参见github